






An impact wrench that struggles on the last wheel bolt, or a spray gun that starts spitting halfway through a panel, usually points to one problem: insufficient air supply. Knowing how to size air compressors means matching the compressor to the tools and jobs you actually run, rather than buying on tank size or motor power alone.
For a home garage, a compact unit may be enough for tyre inflation and occasional fastening work. For a busy workshop, sanding, spraying and multiple technicians demand far more delivered air. Get the figures right before you buy and the compressor will work harder for your business, not hold it back.
How to size air compressors: start with your tools
Every air tool has an air consumption figure, normally shown in CFM (cubic feet per minute) or litres per minute. This is the starting point for compressor sizing. Check the tool label, instruction manual or specification sheet and identify two figures: the required air flow and the recommended working pressure.
Do not simply add up every pneumatic tool in the building. Size the compressor for the tools likely to operate at the same time. A one-man garage using an impact wrench, tyre inflator and blow gun one after another has a very different requirement from a workshop where one person is sanding while another is using a ratchet.
The type of work matters as much as the stated tool figure. An impact wrench uses air in short bursts, so its average consumption can be modest even though it needs a strong flow when triggered. A DA sander, die grinder or spray gun consumes air continuously. These are the tools that expose an undersized compressor quickly.
Read CFM figures carefully
CFM is the key number, but compressor listings can use different terms. Look for Free Air Delivery (FAD), sometimes called delivered air, at a stated pressure. This shows the useful air reaching your hose after compressor losses. It is a more honest comparison than piston displacement or theoretical intake air.
A compressor may advertise a high displacement CFM figure but deliver noticeably less FAD at 6.2 or 7 bar. Compare like for like: FAD at the same pressure against the tool’s consumption rating. If one figure is in litres per minute, divide by 28.3 to get an approximate CFM figure. For example, 283 litres per minute is roughly 10 CFM.
Tool figures also vary. Some manufacturers quote average air use, while others state consumption under continuous operation. When the information is unclear, allow more headroom rather than trying to work to the absolute minimum.
Add a realistic safety margin
Once you have the combined CFM requirement of the tools that will run together, add at least 25 per cent spare capacity. A 30 to 50 per cent margin is the safer choice for regular workshop work, long hose runs, future tool purchases or tools used continuously.
For example, if a spray gun requires 8 CFM and may run alongside a 3 CFM air-fed mask or small blow gun, the combined demand is around 11 CFM. A compressor delivering only 11 CFM will run flat out and pressure will fall. Aim for at least 14 CFM FAD, with 16 CFM or more giving a more comfortable working margin.
This spare capacity reduces excessive run time, helps prevent moisture problems caused by a constantly hot pump, and gives the motor time to cycle off. It also makes the setup more useful when the workshop grows.
Match compressor pressure to the job
Most automotive air tools work around 6.2 bar or 90 PSI, although the correct setting is always the one specified by the tool manufacturer. Your compressor must produce more pressure than the tool needs, because pressure drops through filters, regulators, couplings and hose.
A compressor with a maximum pressure of 8 bar is suitable for many garage tools regulated at 6.2 bar. A unit capable of 10 bar gives more stored pressure and can be useful for certain equipment, but maximum pressure alone does not make it the better compressor. If its FAD is too low, it will still struggle with a high-demand sander or spray gun.
Set the regulator at the tool’s specified working pressure. Turning the pressure up to make a weak impact wrench perform is not a fix for inadequate air flow and can shorten tool life. Also check restrictive fittings and narrow hose, especially when using a long airline across a workshop.
Tank size: useful reserve, not extra air production
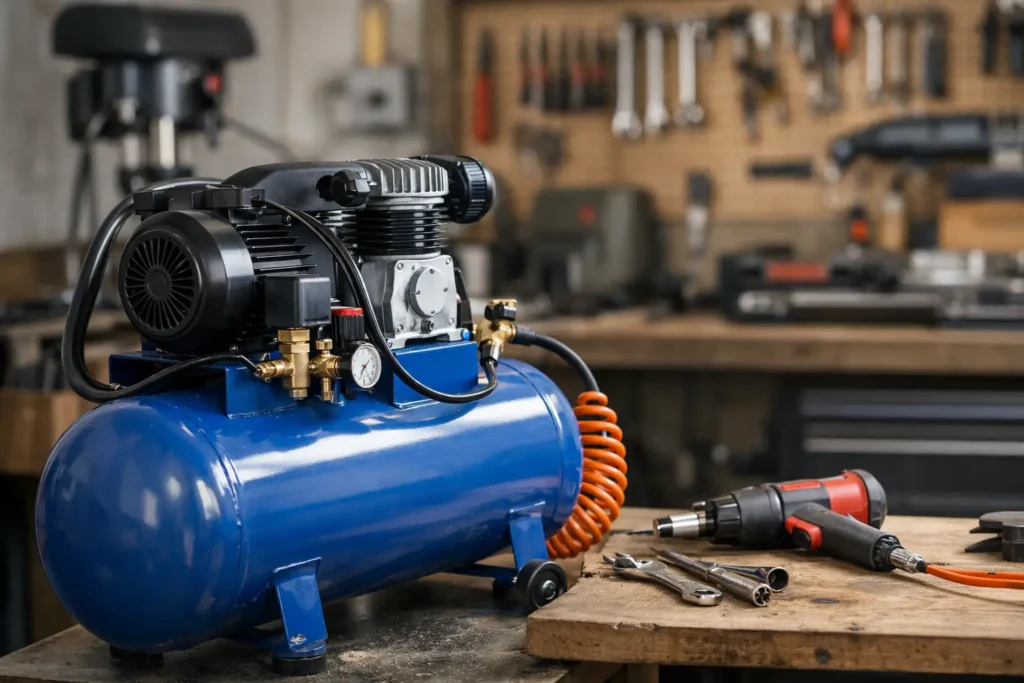
The receiver tank stores compressed air and smooths out short peaks in demand. It does not increase the compressor’s continuous FAD. This distinction prevents a costly mistake: buying a large-tank compressor with a low-output pump for a job that needs sustained air.
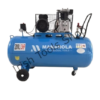
A 24-litre tank is practical for inflation, blow cleaning and occasional nailer or ratchet work. A 50-litre receiver provides a better reserve for intermittent automotive jobs. For frequent impact wrench use, general garage work and short spray jobs, 100 litres is usually a more capable starting point. Continuous sanding, bead blasting and professional painting often benefit from 150 to 200 litres or more, paired with a pump that can genuinely keep up.
A larger tank lets an impact wrench deliver a strong burst before the motor cuts in. However, if you are using a sander for ten minutes, the stored air is gone quickly. The pump output then becomes the deciding factor. Prioritise FAD first, then choose a tank size that suits the duty and available workshop space.
Typical compressor sizes for garage work
There is no single best compressor size, but these working ranges make selection easier. Always confirm the tool specification before committing.
| Workshop task | Typical air requirement | Sensible compressor approach | |—|—:|—| | Tyres, blow gun, occasional brad nailer | Low, short bursts | 24L to 50L tank, roughly 4 to 6 CFM FAD | | Ratchets and occasional impact wrench use | Moderate, intermittent | 50L to 100L tank, roughly 7 to 10 CFM FAD | | Regular impact work and light spraying | Medium demand | 100L tank, roughly 12 to 16 CFM FAD | | DA sanding, die grinding and panel spraying | High, continuous demand | 150L to 200L tank, 16 CFM FAD or higher | | Multiple air tools or daily professional use | High combined demand | High-output, often belt-driven compressor with capacity calculated for simultaneous use |
These are buying guides, not fixed rules. A low-consumption HVLP gun may need less air than a conventional spray gun, while a large 1-inch impact wrench can need considerably more than a standard wheel-nut gun. Bead blasting is particularly demanding and is often where smaller workshop compressors fall short.
Consider motor power, supply and duty cycle
Motor power helps indicate what a compressor can deliver, but horsepower is not a sizing shortcut. Two compressors with similar motor ratings can have different pump designs and very different FAD figures. Use the FAD number as the deciding specification.
For domestic and light garage use, a 230V compressor can be a practical choice. Check the plug and circuit requirement before ordering. Higher-output units may require a dedicated supply, and some heavy-duty compressors are better suited to a 400V three-phase workshop supply. A compressor that repeatedly trips the electrics is not a bargain, regardless of its advertised output.
Duty cycle matters too. A direct-drive unit can be excellent for short, occasional tasks, while belt-driven compressors are often better suited to longer running periods and higher workshop demand. If the compressor will work daily, choose a model designed for that workload rather than expecting an entry-level unit to run continuously.
Do not lose capacity through the airline
A correctly sized compressor can still feel underpowered if the air system is restrictive. Use a hose bore that suits the tool’s demand, keep unnecessary hose length to a minimum and avoid cheap couplings with a narrow internal passage. High-flow fittings make a noticeable difference with impact guns and air-hungry grinding tools.
Water management is equally important. Compressing air creates moisture, and moisture damages tools and ruins paint finishes. Drain the receiver regularly. For spraying, fit suitable filtration and moisture separation close to the point of use. If your compressor runs frequently, an aftercooler or dryer may be worth the spend.
Buy for the work you will do next month
The cheapest compressor can be expensive if it leaves technicians waiting for pressure to recover or forces you to replace it after one busy season. Choose the unit that meets your current demand with proper FAD headroom, then consider the next tool you are likely to add.
Irish Tools Shop customers often build their air setup in stages: start with reliable capacity for daily wheel and service work, then add filtration, better hose and specialist air tools as the workshop expands. The right compressor should give you steady pressure, usable reserve and the confidence to get through the next job without stopping for air.
